Published: Oct 29, 2021 by Ivana Žemberi
Figma is a top-notch tool for making designers’ lives easier. It allows a variety kinds of plugins for almost every situation.
There are plugins for icons, mockups, even LottieFiles animations.
But the real gamechanger was the Appearance plugin. The Appearance plugin enables you to switch from light theme colors to the dark theme with just a few clicks. Of course, there are a few things you should know before using the plugin.
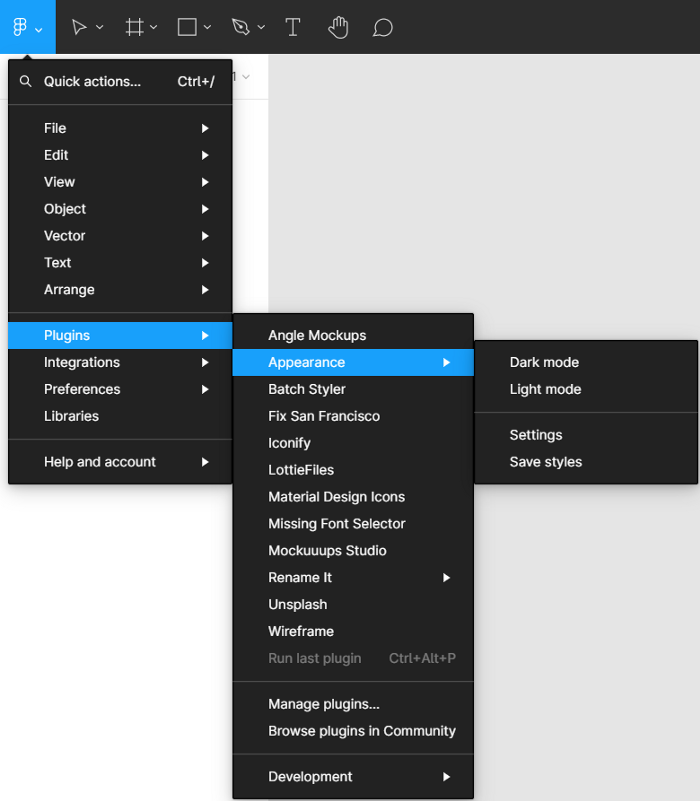
When you install the plugin, you can find it in:
Main Menu → Plugins → Appearance.

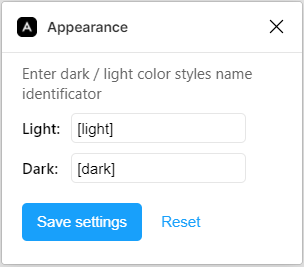
If you click on Settings, you’ll see what the default styles name identifications are. You can leave them as they are and name your styles accordingly, or you can go ahead and change them to something else.I used [dark] and [light] instead of the default [day] and [night].

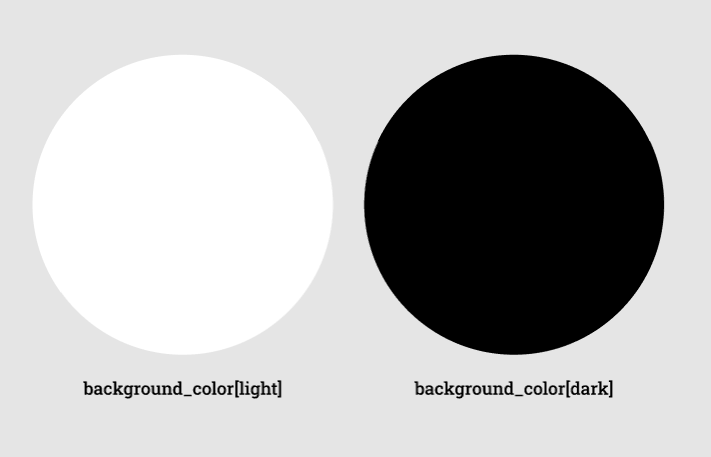
Once you know what your style name identifications are, you can move on to creating the matching style pairs. If you already have defined color styles you want to use for light and dark themes, you only need to adjust their names.
The plugin should work if you put your style name identifications in any place of your color style name. I prefer putting it at the end as it seems cleaner and easier to scan through the Color style library.

If you’re new to Figma, creating color styles is done in the Fill section of the Design menu on the right. Just pick a color, click on: Style → Create Style → type in the Style’s name → Create Style. All of your created styles can be found in the Color Style Library.
The great thing about this plugin is that it allows you to use it with your local color styles and external library styles.
Working with local styles
- The first step is to use [light] and [dark] (or the default [day]/[night]) in your color style names like described above.
- After that, you should apply the color styles.
- Select the objects you want to change and select:
Plugins → Appearance → Dark mode for dark theme, and
Plugins → Appearance → Light mode for light theme
And that’s it. Now you see how your objects look both in light and dark themes.

Working with external library styles
There are a few more steps to go through when using Appearance plugins with external library styles.
- The first step is adjusting names in your external color library so that they have [light] and [dark] or [day] and [night] in them, depending on your settings.
- After you have finished defining colors in your library, publish the changes.
- Go to Plugins → Appearance → Save styles.
That action will save external color styles to the plugin. - Go to the file which theme you want to change and link the external library to it.
You can do that by clicking: Main menu → Libraries, and then choose the library you published in the second step. - Apply color styles
- Select any object or frame and right-click:
Plugins → Appearance → Dark mode if you want it to be dark themed,
Plugins → Appearance → Light mode if you want it to be light-themed.
And that’s it! You can now see your objects and frames in both light and dark themes by running the plugin.
Whether you use local styles or external library styles, the Appearance plugin makes your life so much easier. It changes every single color from a light theme to its dark theme pairs. There is no need to switch the colors manually, so your job is cut in half!


